
Effortless Garage Door Opener Installation
- COMMERCIAL GARAGE DOOR REPAIR
- GARAGE DOOR OPENER INSTALLATION
- GARAGE DOOR SPRING REPAIR
- SAME-DAY GARAGE DOOR REPAIR
- CUSTOM GARAGE DOOR
- GARAGE DOOR OPENER REPAIR
- GARAGE DOOR TRACK REPAIR
- GARAGE DOOR CABLE REPAIR
- GARAGE DOOR PANEL REPAIR
- LOCAL GARAGE DOOR REPAIR
- GARAGE DOOR REPLACEMENT
- NOISY GARAGE DOOR FIX
- GARAGE DOOR INSTALLATION
- GARAGE DOOR SECTION REPLACEMENT
- OVERHEAD GARAGE DOOR REPAIR
- GATE REPAIR
Effortless Garage Door Opener Installation Made Simple
Installing a garage door opener can seem daunting, but with the right guidance, it can be a manageable and rewarding DIY project. A garage door opener not only provides convenience but also enhances the functionality of your home. For new homeowners, tech enthusiasts, or anyone eager for a garage upgrade, here’s everything you need to know to tackle the installation with confidence.
Why Install a Garage Door Opener Yourself?
Cost Savings
Hiring professionals can be costly. Installing a garage door opener yourself can save a significant amount of money, allowing you to allocate that budget elsewhere in your home improvements.
Skill Development & Satisfaction
There’s a certain satisfaction that comes with taking on a home improvement task. DIY installation not only teaches valuable skills but also boosts confidence in handling future projects.
Flexibility to Choose Your Own Schedule
Installing the opener yourself means you get to work at your own pace and convenience—no more waiting for appointments or adjusting your timeline around a technician.
Tools and Materials You’ll Need
Before starting, ensure you have the following tools and materials ready for a smooth installation process.
Essential Tools
- Wrench
- Screwdrivers (flathead and Phillips)
- Power drill and bits
- Level
- Tape measure
- Safety glasses and gloves
Necessary Materials
- Garage door opener kit (includes motor, rail system, and remote controls)
- Mounting hardware (included with the kit)
- Step ladder
Step-By-Step Garage Door Opener Installation
Preparing the Garage Door and Workspace
- Clear the area around the garage door to ensure a safe and efficient workspace.
- Check that your garage door operates smoothly and is balanced. Make adjustments if needed.
Assembling the Opener and Rail System
- Follow the manufacturer’s instructions to put together the rail system and motor unit.
- Ensure all screws and bolts are securely fastened.
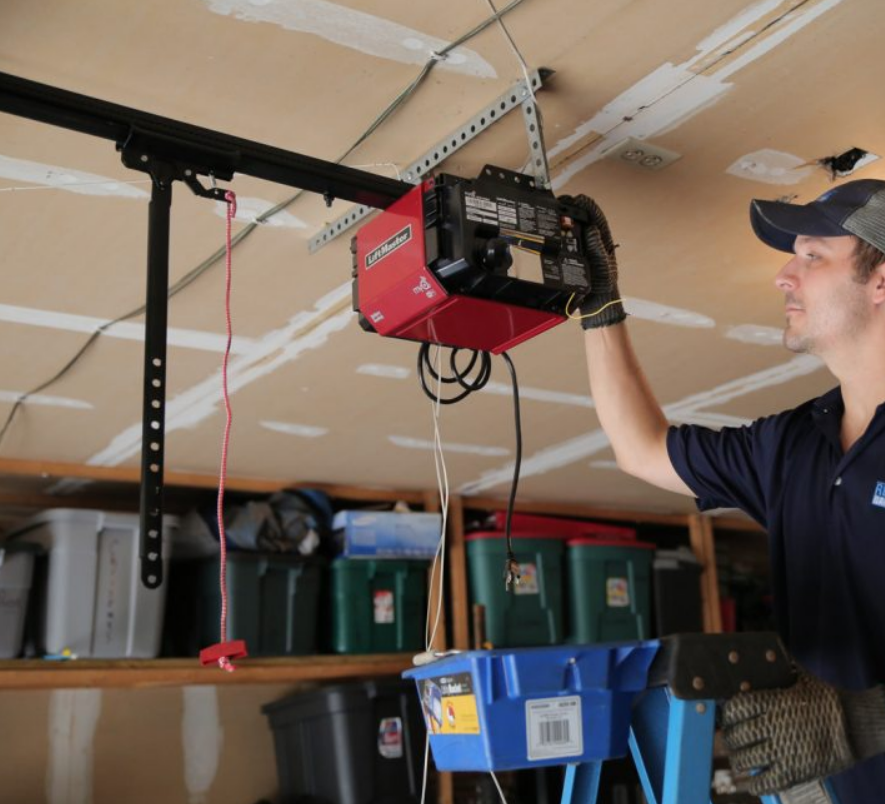
Attaching the Opener to the Garage Door
- Mount the opener unit to the ceiling of your garage using the provided brackets.
- Connect the rail to the garage door using the trolley and arm provided in the kit.
Connecting the Electrical Components
- Plug the opener into a nearby power outlet. If the unit is hardwired, follow the provided wiring diagram.
- Install the safety sensors on either side of the garage door, ensuring they’re aligned and facing each other.
Testing and Adjusting the Opener
- Open and close the door using the remote control or wall keypad.
- Adjust the opener’s up/down force and limits as needed for smooth operation.
Stay Safe! Key Tips for a Seamless Installation
Protect Yourself
Always wear safety glasses and gloves during installation to prevent injuries.
Disconnect Power Before Starting
If your garage door opener requires electrical wiring, ensure the power is off before you begin.
Handle Springs with Care
Garage door springs are under high tension. Avoid adjusting them manually as it can be extremely dangerous.
Consider Professional Help When Needed
If you hit a roadblock or prefer expert assistance, Garage Door Repair Nokomis FL is here to help. Whether it’s for advanced repairs or professional installation services, their experienced team ensures your garage is in peak condition.
Take pride in transforming your space with a successful DIY garage door opener installation. And when you require trusted experts, you know who to call.